
Sales Dashboard

Text file inputs

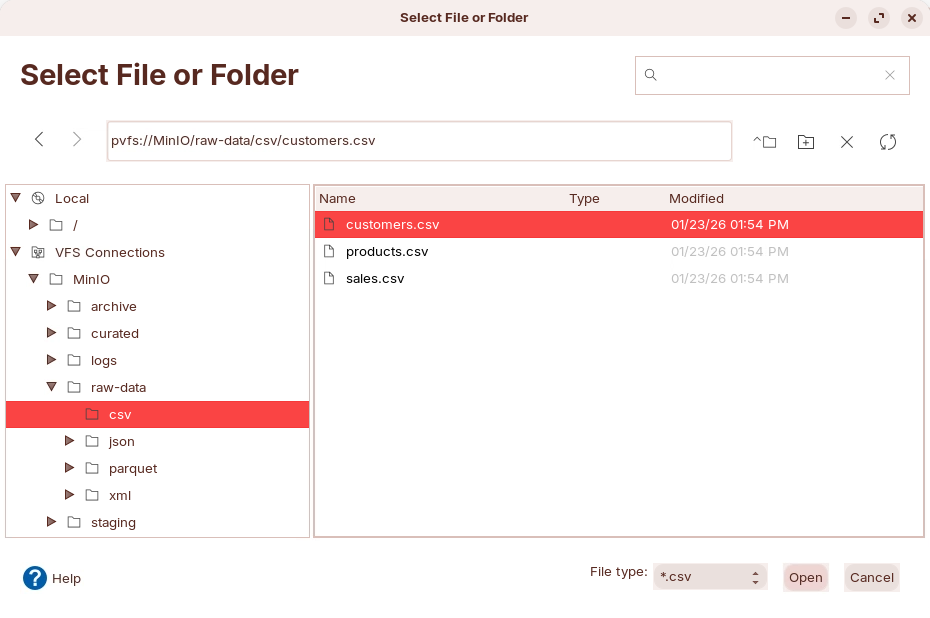
Select - sales.csv from VFS connections

Get Fields - Sales

Preview data - Sales
| Setting | Value |
|---|---|
| Step name | Products |
| Filename | pvfs://MinIO/raw-data/csv/products.csv |
| Delimiter | , |
| Head row present | ✅ |
| Format | mixed |

Select - products.csv from VFS connections

Get Fields - Customers

Preview data - Products
| Setting | Value |
|---|---|
| Step name | Customers |
| Filename | pvfs://MinIO/raw-data/csv/customers.csv |
| Delimiter | , |
| Header row present | ✅ |
| Format | mixed |
Select - customers.csv from VFS connections

Get Fields - Customers

Preview data - Customers

Lookups

Product Lookup

Customers Lookup

Lookups - Preview data

Calculator step
| New field | Calculation | Field A | Field B | Value type |
|---|---|---|---|---|
line_total | A * B | quantity | unit_price | Number |
discount_amount | A - B | sale_amount | line_total | Number |

Calculator

Preview data

Formula step
| New Field | Formula |
|---|---|
| customer_full_name | CONCATENATE([first_name];" ";[last_name]) |
| is_high_value | IF([sale_amount]>500;"Yes";"No") |

Formula step

Preview data

Add constants

Add constants

get system info

Get system info

Select values

Select

Preview data

Text File output

MinIO - Dashboard data

Inventory reconciliation
| Setting | Value |
|---|---|
| Step name | Read Warehouse XML |
| File or directory | pvfs://MinIO/raw-data/xml/inventory.xml |
| Loop XPath | /inventory/items/item |
| Encoding | UTF-8 |
| Ignore comments | ✅ |
| Validate XML | No |
| Ignore empty file | ✅ |

Configure XPath

Remap field names & Preview data

Customer 360
Select - sales.csv from VFS connections
Get Fields - Sales
Preview data - Sales

Log Analysis
| Field | Type | Length | Description | Source Mapping |
|---|---|---|---|---|
| product_id | String | 50 | Unique product identifier | CSV: product_id JSON: product_id XML: sku |
| product_name | String | 200 | Product display name | CSV: product_name JSON: product_name XML: name |
| category | String | 100 | Product category | CSV: category JSON: (derived from order type) XML: category |
| price | Number | 15,2 | Unit price in USD | CSV: price JSON: unit_price XML: null (not available) |
| quantity | Integer | 10 | Available stock quantity | CSV: stock_quantity JSON: quantity XML: quantity |
| source_system | String | 10 | Origin system identifier | Constant: 'csv', 'json', or 'xml' |
| ingestion_time | Timestamp | - | When record was ingested | System timestamp |
| Unified field | CSV | JSON | XML | Notes |
|---|---|---|---|---|
| Identifier | product_id | product_id | sku | Same meaning. Different name in XML. |
| Name | product_name | product_name | name | Same meaning. Different name in XML. |
| Category | category | ❌ | category | Missing in JSON. |
| Price | price | unit_price | ❌ | Different name in JSON. Missing in XML. |
| Stock quantity | stock_quantity | quantity | quantity | JSON quantity is not stock. |